| Reference Images | |
|---|---|
|

|
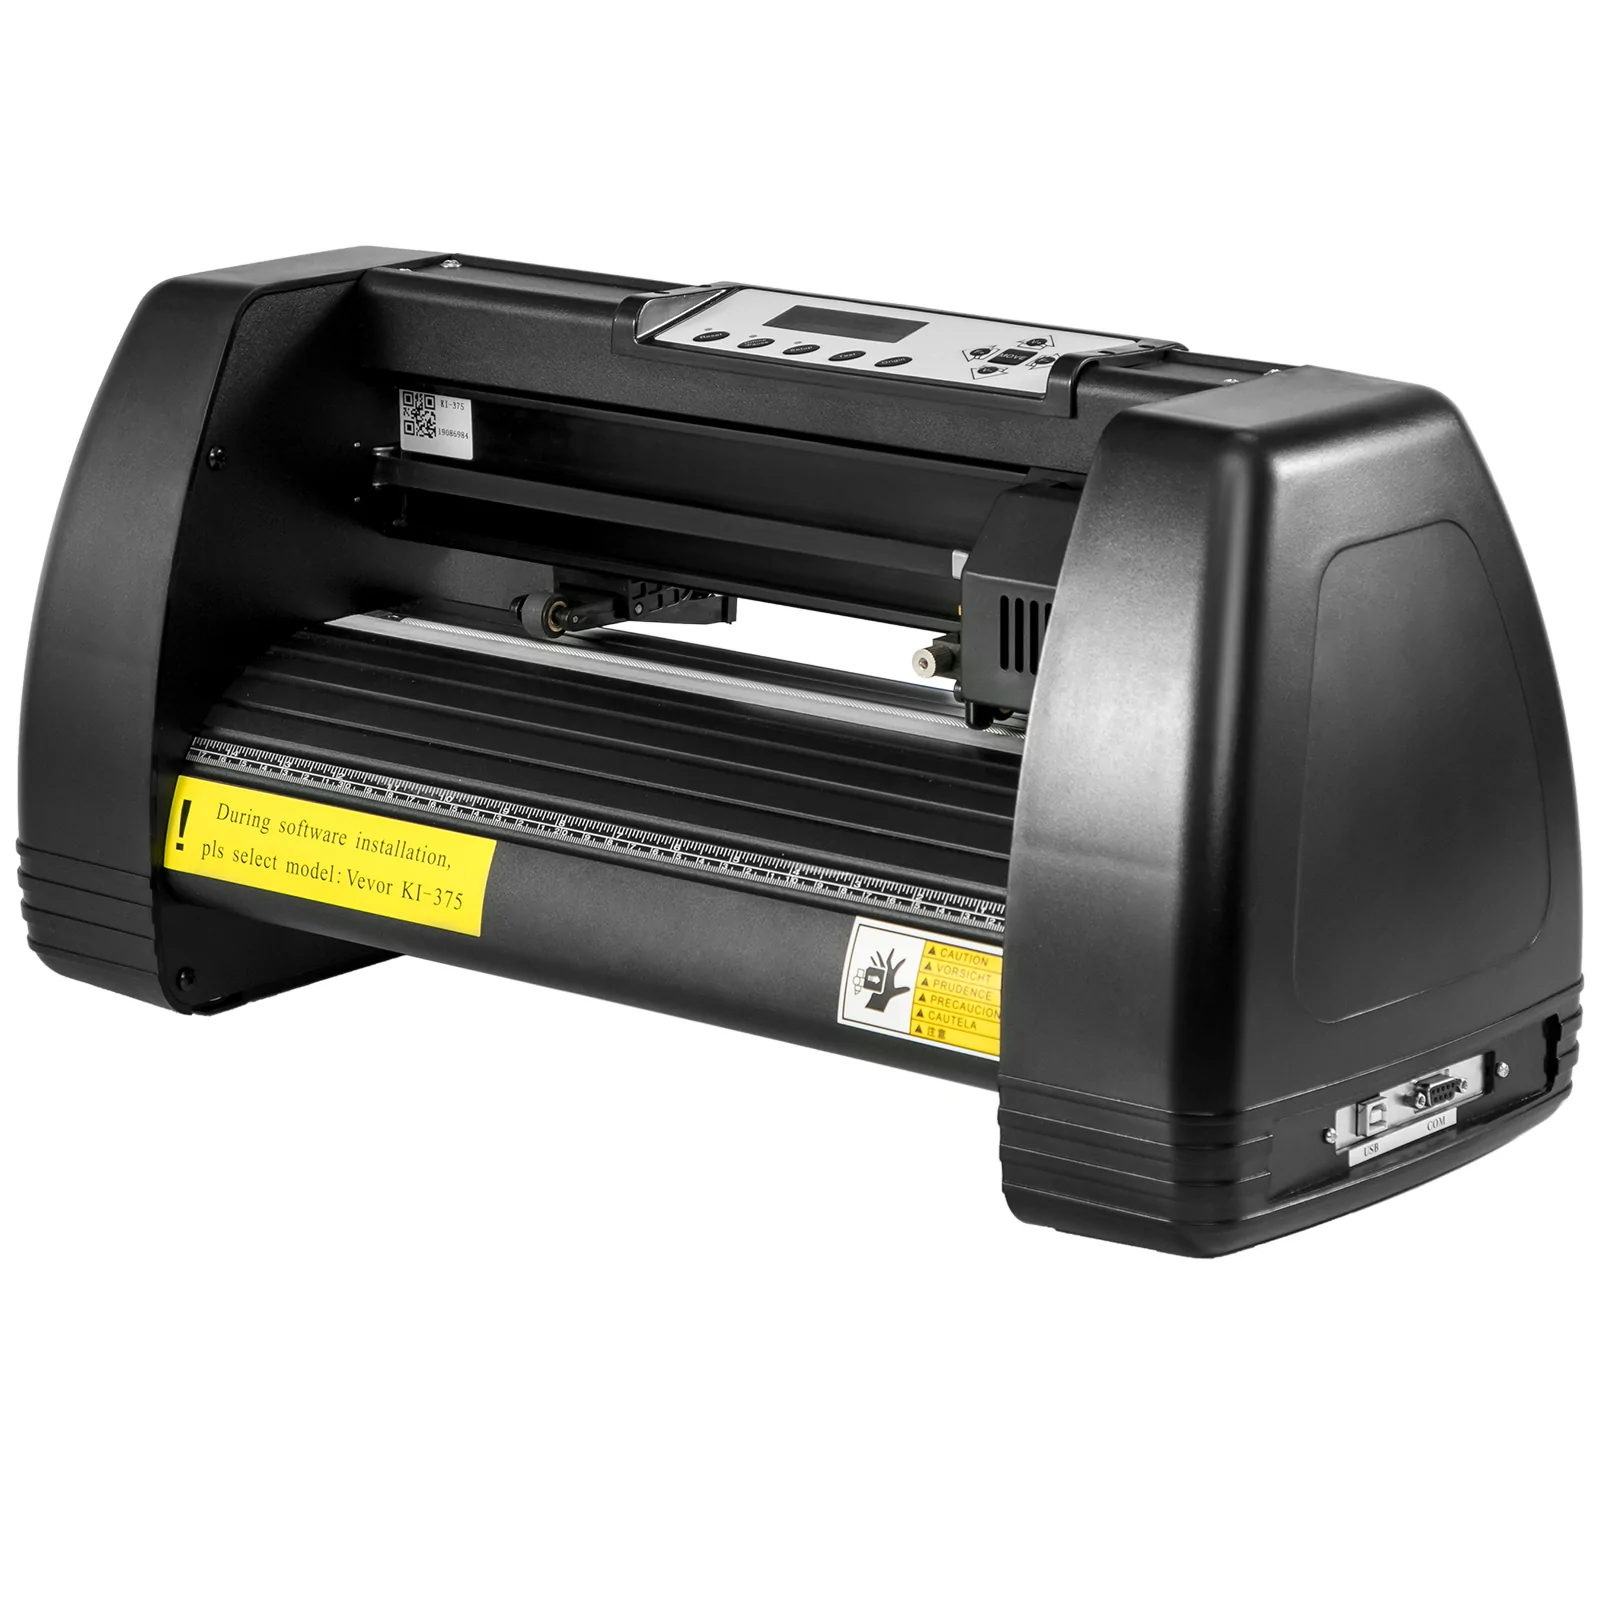
¶ Vevor Vinyl Cutter
A vinyl cutter is a powerful tool that can be used to create a wide range of products, including signs, decals, stickers, and more. With a vinyl cutter, you can easily create precise cuts and intricate designs, making it an ideal tool for creating custom graphics and lettering. Vinyl cutters are often used for creating signs, labels, decals, and other promotional materials for businesses, as well as creating custom graphics for vehicles, walls, and other surfaces. They are also used for cutting heat transfer vinyl for textile printing, and creating custom clothing or accessories. Additionally, it can also be used for cutting stencils for painting or etching on various materials like glass or metal. It's a versatile tool that can be used in various industries such as small scale production, advertising and customizing personal items.
¶ Safety
Every tool carries risk.
¶ Getting started
To get started, turn on the power switch located on the lower right-hand side of the machine. Next open signmaster on the workstation PC. Find the image you would like to copy and paste it onto the work area in the middle of the screen. You can select the page size you are printing for on the left-hand side of the program, however this is only necessary for very precise prints.
Next select the trace icon (looks like an apple) at the top of the programme and select the top option (not the setup wizard). The default settings should be appropriate so select next until the trace is complete. We can now load our material in the cutter. Confirm the two levers on the back of the cutter are pulled up and slide your material through the machine material-side up. Left click the cut-out option (looks like a cutting bit) at the top icon bar. This will take you to a wizard that lets you select your cutting options.
We can know flip down the two levers we pulled up before on the back of the machine. Next I recommend trying the "test" button on the top of the vinyl cutter which will cut a small square directly under the cutting bit. If this test square fails (dosen't cut properly) you can then use the four directional buttons around the "move" button to adjust the speed and force of the cutter. Switching back to signmaster, the main tool we want to use in the wizard is the,"define area" tool on the bottom right side of the cut wizard. Using this you will then observe the perimeter of the cut outlined. Re-adjust your material until you're satisfied and select cut now.
¶ Videos
¶ Setting up the Blade Depth
https://www.youtube.com/watch?v=C90IyBp3iCc
¶ Setup role for printing
https://www.youtube.com/watch?v=FX3xEW1P32Y
Note: This is the larger model but the controls are the same